
Installing PureOS on a 2015 MacBook Pro
I’ve been following the Purism company for some time, and I am excited to see a new player in the computer hardware market that is both building high quality equipment and is focused on user privacy. I’ve come to highly value my privacy, and I think we should all be concerned how much of our privacy is going away without us really realizing it. Recently, I decided it was time to move away from macOS for various reasons and find a system that was more privacy-focused. It seemed to me that the PureOS, spearheaded by the Purism folks for their Librem line of notebooks and (soon) phones, fell in line with what I was looking for: an OS that put privacy first and was user friendly.
I use a MacBook Pro for all of my work, the hardware is in good shape and more than fast enough for what I do. However, the MacBook Pro does require a closed-sourced binary for the built-in Wi-Fi driver, so it’s not the most “libre” piece of equipment. It also uses EFI instead of an open BIOS (like LibreBoot), but that added a good amount of complexity. I felt that the trade-offs were worth it right now, because I can move down a privacy-focused path without a huge layout of cash.
Two other notes before we start. 1) I assume you have a GOOD BACKUP of your system. 2) I assume some level of technical knowledge here, this isn’t a beginner tutorial.
Without further ado, here are the steps I took to successfully install PureOS on my 2015 MacBook Pro.
Grab two USB thumb drives you can fully erase (so no data on them that you need): one as the image of the ISO install disc (I used a 4GB drive), and one to boot from that will allow you to startup to macOS, PureOS, or the PureOS installer (I used a 128GB drive). The reason you need two different disks is that the PureOS boot disc doesn’t work on EFI-only hardware, like the MBP.
Download the PureOS install disc: https://www.pureos.net/download/
Download the Etcher tool to clone the disc over to a USB drive: https://www.balena.io/etcher/
Use the Etcher tool to clone the PureOS install disc image to the first USB drive, and be sure to just eject the USB install disk after it’s made (you’ll get a popup that says the disk you inserted is unreadable, just click Eject).
Insert your other USB disk, and let’s format it:
Open
Disk Utility, make sure you can see full disks by going to Disk Utility -> Show All, then choose the USB disk on the left and clickEraseat the top
Choose USB disk Give it the name “
Boot“, set theFormatto “Mac OS Extended (Journaled)“, set theSchemeto “GUID Partition Map“, then clickErase.
USB disk settings
Once finished, quit Disk Utility and open your Terminal. We need to mount the EFI partition on your thumb drive to make it bootable. Let’s find the EFI partition on the USB disk, so type:
{{< highlight bash >}} diskutil list {{< /highlight >}} and hit return. You’ll get an output similar to the following: {{< highlight bash “hl_lines=15 18,prestyles=max-height:500px;max-width:1000px;” >}} /dev/disk0 (internal, physical): #: TYPE NAME SIZE IDENTIFIER 0: GUID_partition_scheme *121.3 GB disk0 1: Bios Boot Partition 209.7 MB disk0s1 2: Apple_CoreStorage Macintosh HD 70.7 GB disk0s2 3: Apple_Boot Recovery HD 650.0 MB disk0s3
/dev/disk1 (internal, virtual): #: TYPE NAME SIZE IDENTIFIER 0: Apple_HFS Macintosh HD +70.3 GB disk1 Logical Volume on disk0s2 {UUID} Unlocked Encrypted
/dev/disk2 (external, physical): #: TYPE NAME SIZE IDENTIFIER 0: GUID_partition_scheme *123.0 GB disk2 1: EFI EFI 209.7 MB disk2s1 2: Apple_HFS Boot 113.9 GB disk2s2 {{< /highlight >}}
In this example, our USB drive is “/dev/disk2“ and the EFI partition we want has the identifier “/dev/disk2s1“. Now let’s mount the EFI partition so we can get it setup:
{{< highlight bash >}} sudo mkdir /Volumes/EFI-USB sudo mount -t msdos /dev/disk2s1 /Volumes/EFI-USB/ {{< /highlight >}}
Now we need to copy over the necessary files to make the disk bootable. Honestly, this took a lot of work*, and I don’t like to see folks waste a lot of time for no reason. So, download the files I created to make this work easily (there’s a GitLab repo of the sources if you’d like to review the source). The directions below assume you are using the files downloaded from the above link.
{{< highlight bash >}} cd /Volumes/EFI-USB/ cp -R /Downloads/pureos-grub-mbp-boot-files-master/EFI . {{< /highlight >}} (Replace “`/Downloads/pureos-grub-mbp-boot-files-master/`” above with wherever you expanded the download.) Once the copy finishes, you can quit Terminal.
It’s time to prepare your internal drive to have PureOS installed on it. I recommend keeping macOS installed in some sense so that you can continue to get Firmware updates from Apple, so you’ll want to create two partitions on your disk. Before proceeding, MAKE A GOOD BACKUP OF YOUR SYSTEM (you’ve been warned), then quit any open applications or extensions or doodads you may have running. (Alternatively, if you are not using FileVault, you can restart into Recovery mode and perform this change there. Otherwise, quit everything you can.)
Open Disk Utility, choose your internal disk on the left, and click on Partition. I split my 128GB drive right in half, so macOS has 64GB and a new partition is created of 64GB. Note: you’ll need an absolute minimum of your RAM size, minus 1GB, plus 9GB for the system, plus 5GB user space, e.g., if you have 8GB RAM, you’ll need (8 - 1) + 9 + 5 = 21GB.
- Click to highlight your Macintosh HD partition, then change the size to something smaller
- Click on the new partition created, name it “
Pure“, set theFormatto “MS-DOS (FAT)“, and leave theSizeon the maximum amount available - Click the
Applybutton, then wait a while, mine took about 20 minutes to complete
We made the new partition MS-DOS format so it’s easy to identify later as our blank partition. If this process fails, don’t fret too much, and just run it again. I had it fail on the first try, but it was fine the second time.
OK, now it’s time to restart. Have both USB drives plugged in and restart the computer. Hold down the option key before startup and you’ll get the opportunity to choose either your regular Macintosh HD startup disk or a new disk named EFI Boot. Use your arrow keys to move over to EFI Boot, then press return and immediately press the esc key. You should be brought to a Grub boot menu:

Choose Boot PureOS 8 Installer from USB and press return. Wait for the PureOS install disc to start, then follow through the initial setup screens. These settings are just temporary as you are booting from the startup disc right now. Based on the install guide PureOS provides as well as some of their screenshots (reference: https://tracker.pureos.net/w/installation_guide/live_system_installation/), follow these steps to run the PureOS install app:
Click on
Activitiesin the top left, then choose the first app on the Dock-looking toolbar on the left,Install PureOS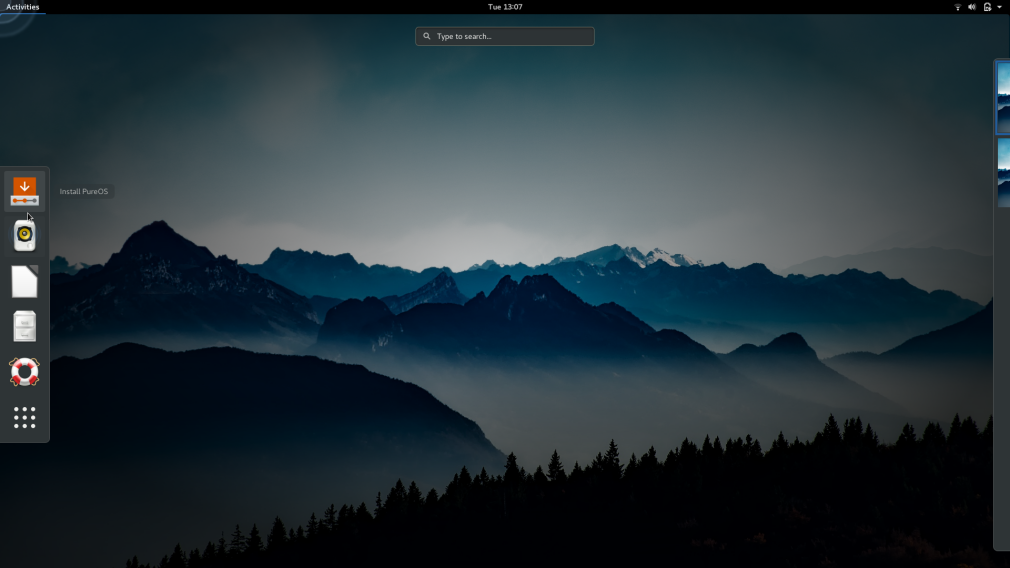
Open Install PureOS Choose your language
Choose your language Make sure you are plugged in to power, then click
Next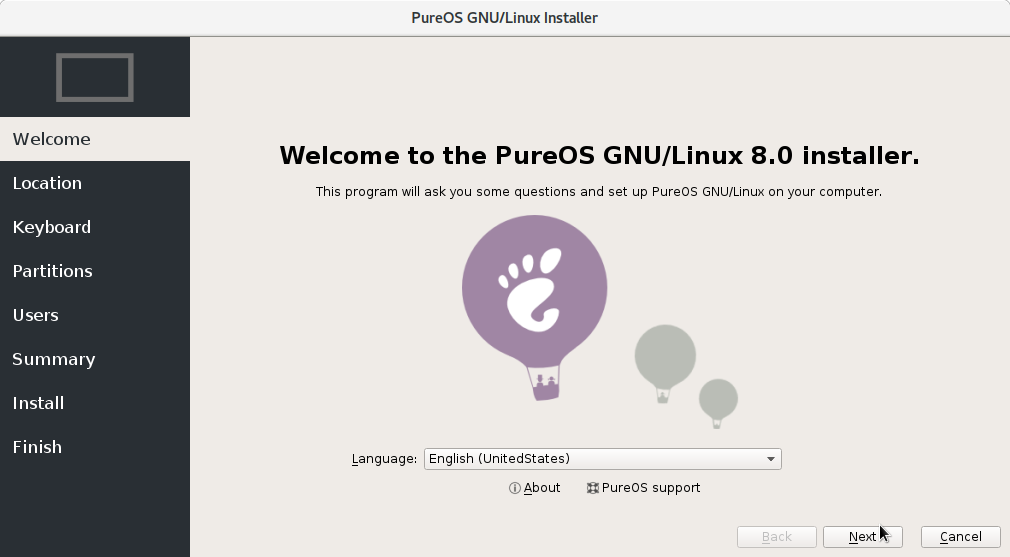
Confirm plugged in to power Choose your locale info, then click
Next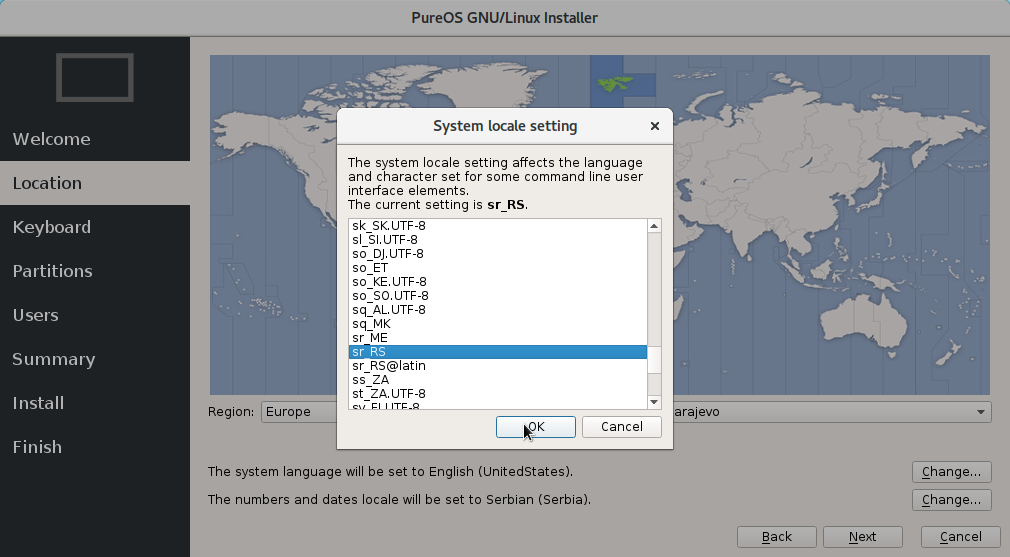
Choose locale settings Choose your keyboard layout, then click
Next
Choose your keyboard layout Choose
Manual partitioning, then clickNext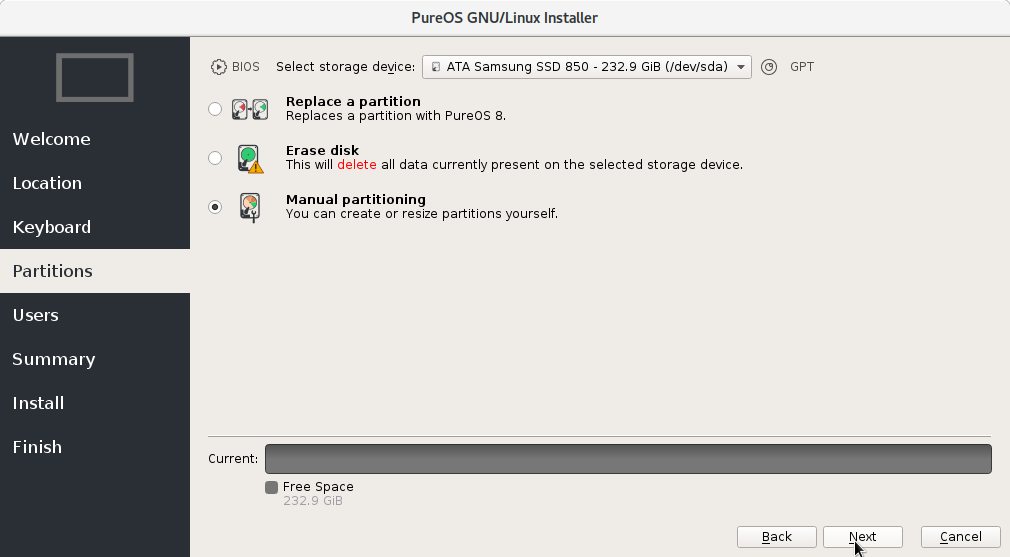
Choose manual partitioning Find the MSDOS partition you made in Disk Utility (note: not the EFI partition on your disk!), then press the
Deletebutton(Unlike this screenshot, you’ll also have your EFI and macOS partitions in this list) Highlight the new
Free Spaceoption, then clickCreate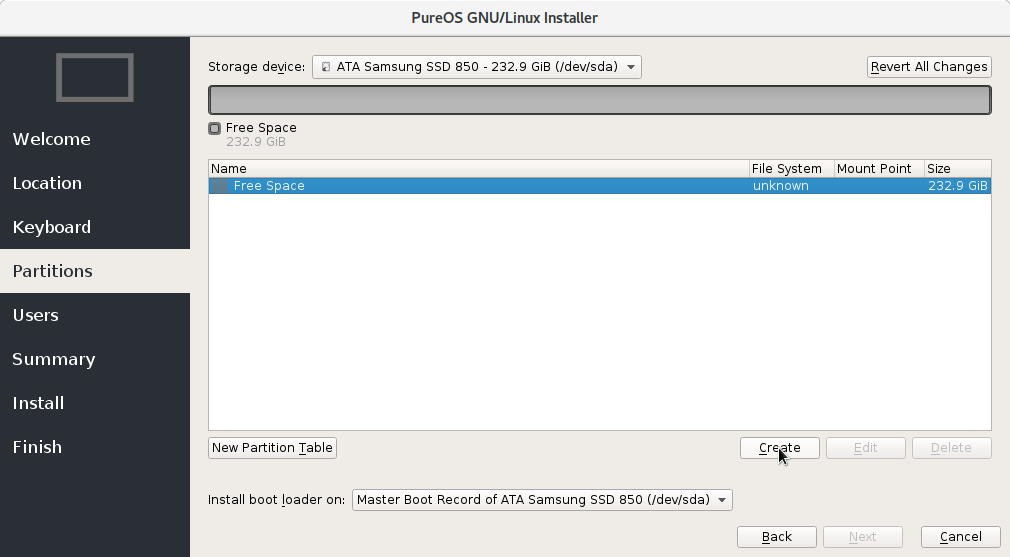
Choose Free Space then click Create Set the
Sizeto 1GB below your amount of RAM, e.g., if you have 8GB RAM, enter 7168MiB (1024 * 7). Set theFile Systemtolinuxswap. ClickOK.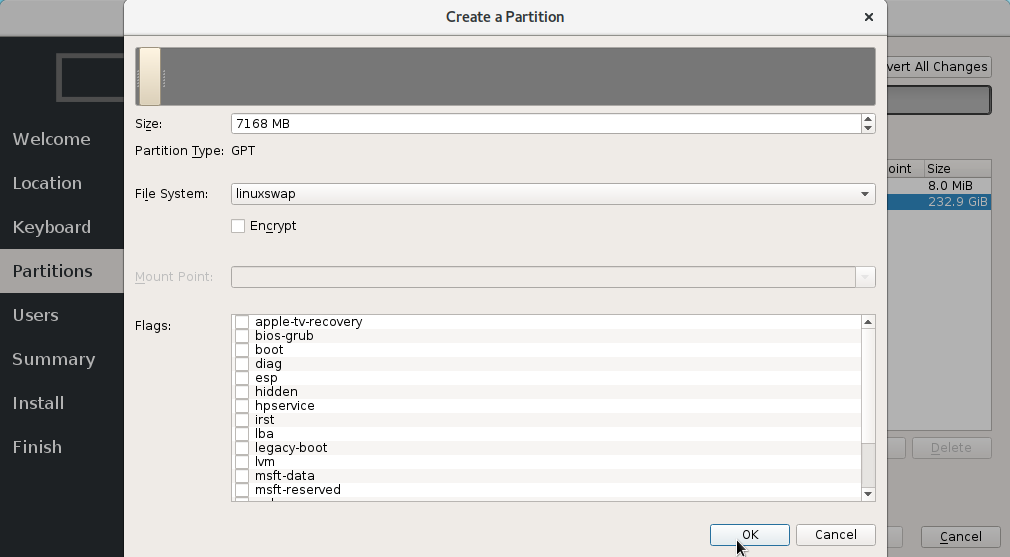
Setup swap space Highlight the
Free Space, then clickCreateSet the
Sizeto your desired system partition size, e.g., I did 20GB and the minimum recommended above is 9GB. Set theFile Systemtoext4. Set theMount Pointto “/“. ClickOK.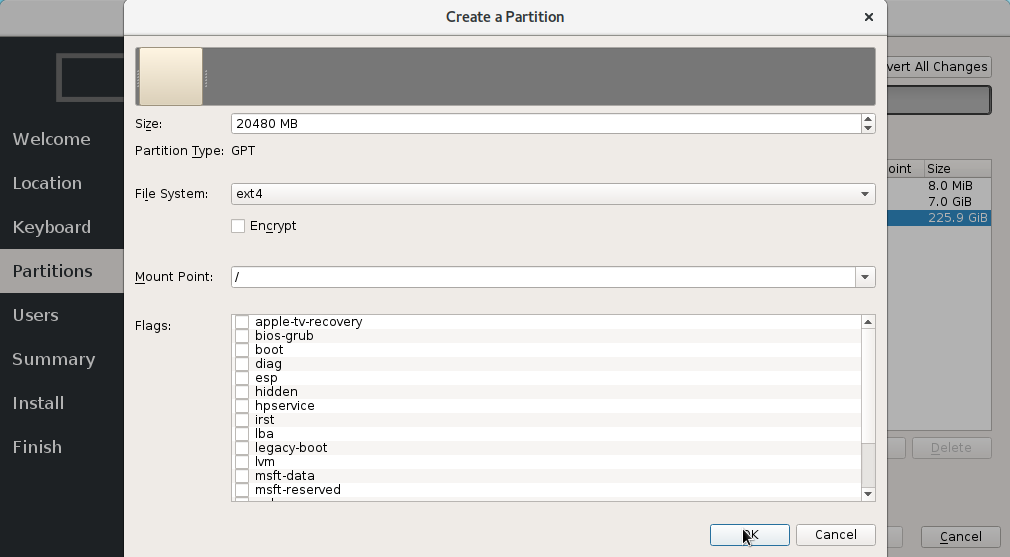
Setup root partition Highlight the
Free Space, then clickCreateSet the
Sizeto the full remaining amount of space (minimum recommended above was 5GB). Set theFile Systemtoext4. Set the Mount Point to “/home“. ClickOK.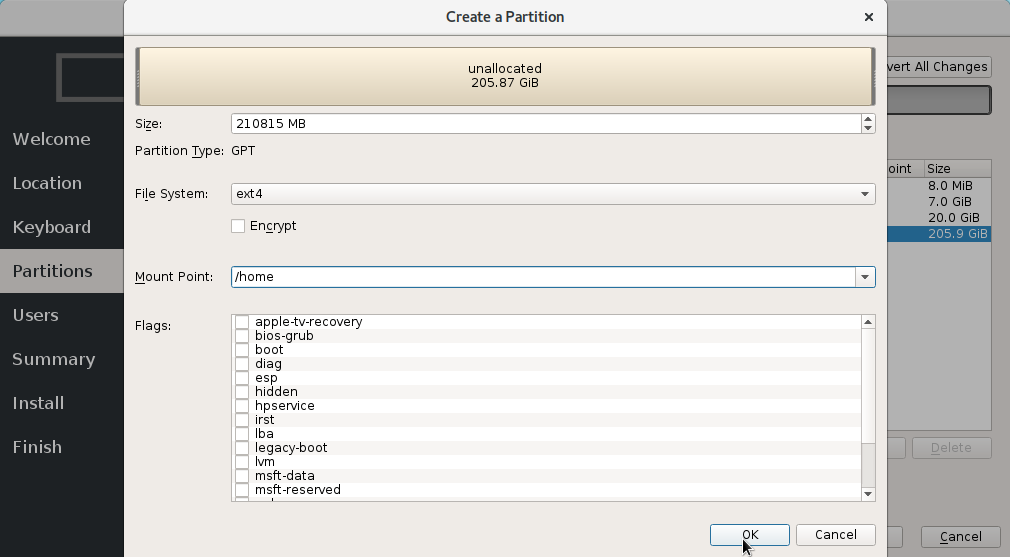
Setup home partition We’re done adding partitions, so click
NextEnter your user information, then click
Next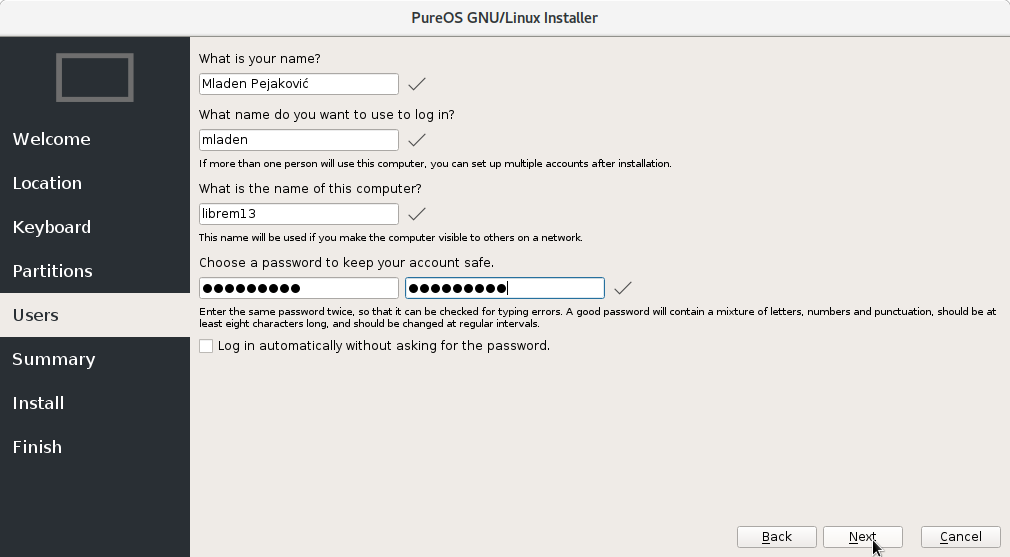
Enter user information Confirm the install info, then click
Next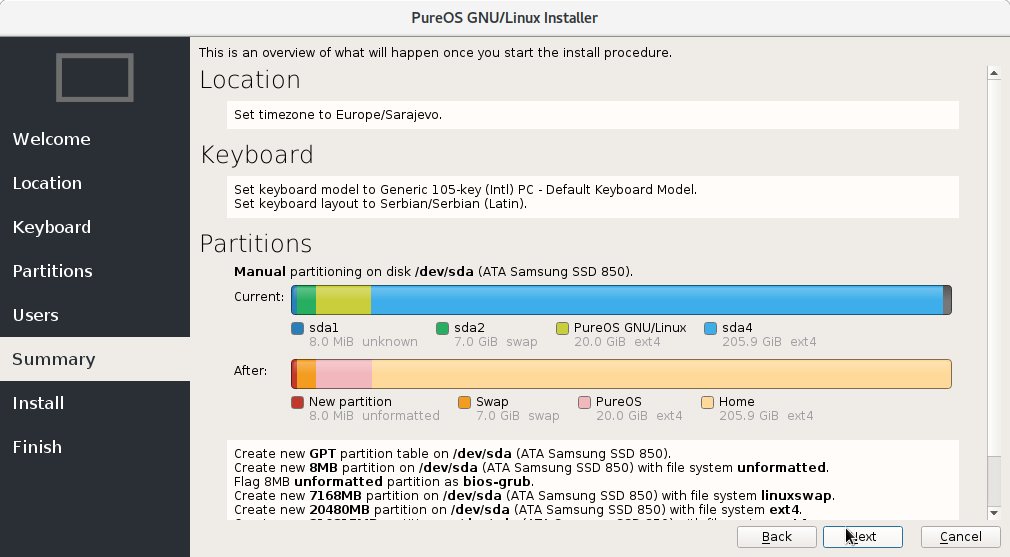
Confirm install settings Click
Install nowon the confirmation popup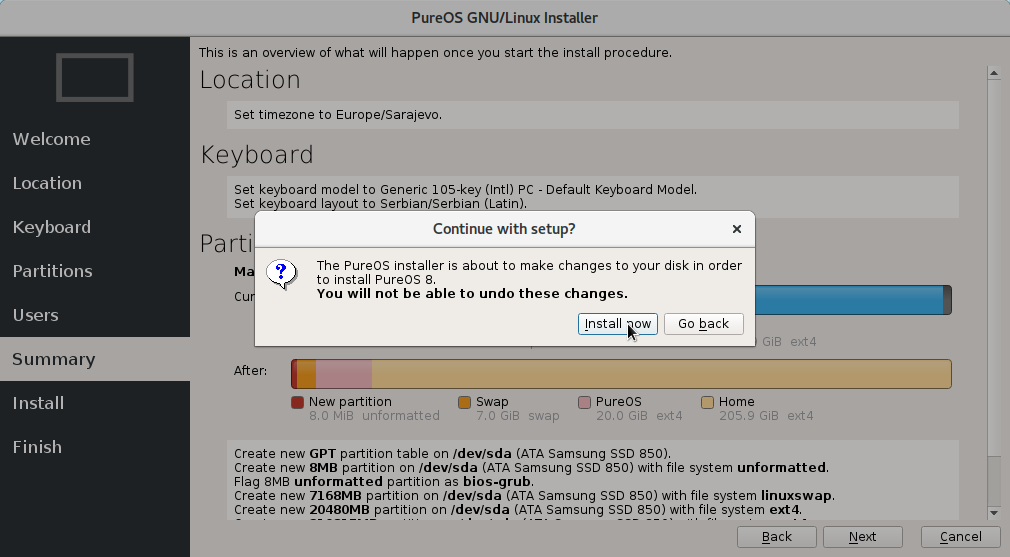
Click Install Now Wait for the installation to finish, it took less than 5 minutes for me

Wait for install to finish When it’s done, make sure
Restart nowis checked, then pressQuit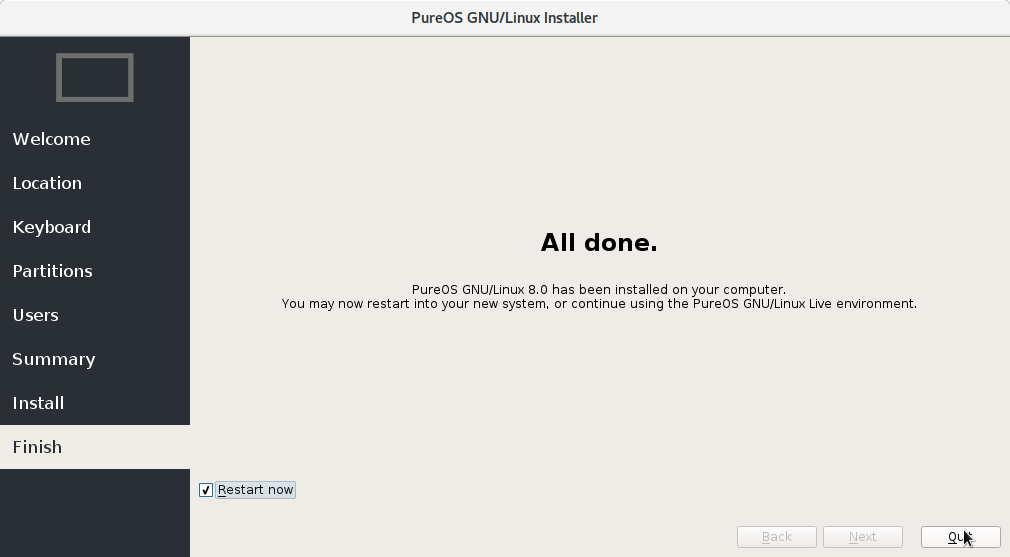
Quit and Restart
In order to boot into the newly installed PureOS, hold down the Option key during the restart, then choose the “EFI Boot“ disk and immediately press esc again. This time, choose the menu item PureOS GNU/Linux and press return. You’ll boot into PureOS and can start configuring it to your liking! For now, you’ll need to use the USB boot disk each time you want to boot into PureOS, but we’ll fix that in the next post.
I’m working on a few more entries, not limited to:
Next up will be basic system configuration.
Then, application setup.
And finally, my development setup.
* In order to build these files, I installed PureOS into a VirtualBox image, then learned how Grub works and created the necessary files for this setup. Whee!